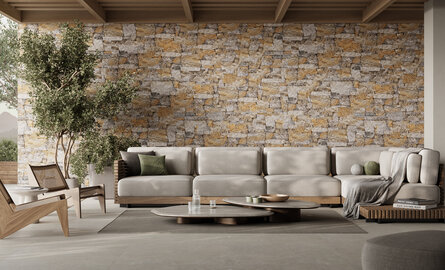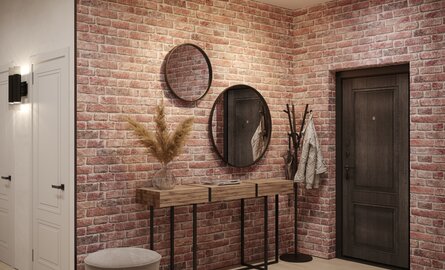
Attaching wood strips yourself: it doesn’t have to be hard!
Mounting wood strips: prep
As soon as the boxes with wood strips arrive, the preparation starts, because the strips should preferably acclimate for at least a week in the environment and temperature in which you are going to place them. This is important because wood is a natural material that can shrink or expand under different conditions. By allowing it to acclimate first, you’re ensuring that the wood strips are stabilized when you start. So place the wooden wall tiles in the room where you will be using them and open the packaging. In the meantime, you can already prepare the rest of the stuff. What will you need?
- Vacuum cleaner / broom
- Leveling
- fine-toothed hacksaw
- Stanley knife
- Sandpaper
- Ruler
- Pencil
- Adhesive gun
- Mounting kit suitable for gluing wood
- Personal protective equipment (for example a dust cover).
Make sure the tools are clean. This of course also applies to the wall on which you are going to attach the wood strips. The surface must be completely clean, dry and free of dust and grease. In addition, it is important that the surface is as flat as possible and that any loose layers such as wallpaper or old paint layers have been removed. If necessary, you can also level the wall, this is especially important for newly plastered plaster walls. Our advice is to sand, dust and apply a primer before processing. For the best effect, it is always advisable to paint the wall black before you start. In addition, the wall you choose must of course be suitable to support the wood strips and any underlayments.
Installing the wooden wall panels
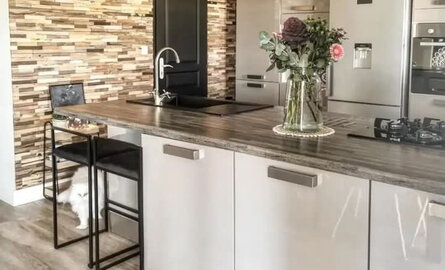
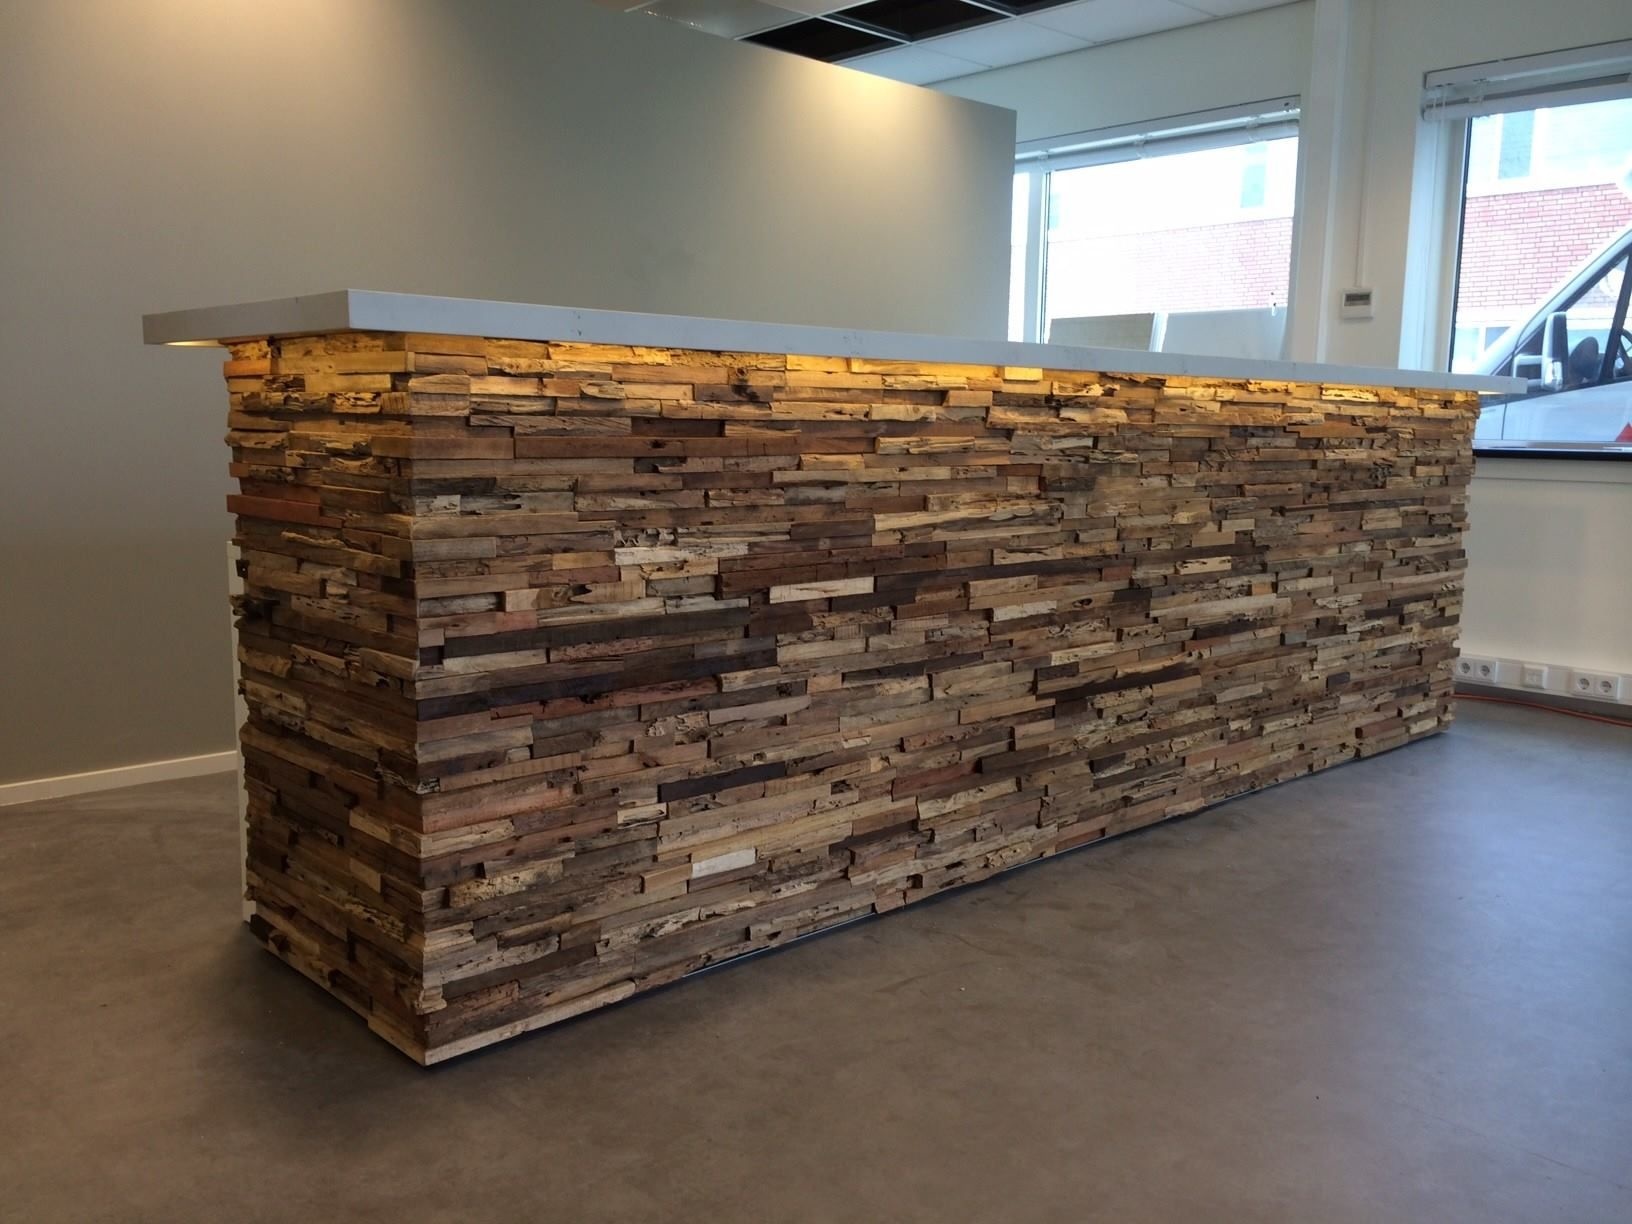
Mount the wall panels in a wild bond so that the seams between the panels are no longer visible. Before you start, check that the place where you are going to attach the strips is level. For example, if you are going for a horizontal strip in the middle of your wall or a paneling of wood strips, you may find it more convenient to screw a base to the wall with a wooden slat or metal profile in advance, to which you will attach the tiles. To ensure that you get a nice distribution in terms of wood structures, it is best to match wood strips from different packaging. It is most convenient to lay out a number of strips each time to see if it forms an attractive whole. For example, first lay out a piece of 3 square meters on the floor. Do you like the laid pattern? If you like the laid pattern, you can apply the wooden tiles piece by piece to the wall from there.
When applying you always start from the bottom and work upwards. We recommend the use of the accompanying mounting kit, ROSadhesive, but a mounting kit suitable for gluing wood to the relevant surface is of course also an option. In that case, consult a specialist in the store to make sure that the mounting kit will be strong enough for this application. Apply the adhesive in a longitudinal zigzag pattern to the back of a wood strip, up to 15 millimeters from the edge. Make sure not to use too much glue, as the glue residue will be difficult to remove if it drips. If you do spill, remove the glue immediately with a clean, damp cloth. If you use wooden slats, you can also attach the wood strips with a tacker, if necessary. Or you can choose to use only a tacker. In most cases, however, a good mounting kit works well enough.
Place the wooden tile in the correct position, at this time it is still possible to make small corrections by sliding the tile around a little. If the tile is positioned correctly, press the product firmly so that it can bond well with the substrate. Work upwards against the wall layer by layer until the desired surface is covered. You can shorten the wood strips with a handsaw and finish with a planer and some sandpaper.
Finishing and maintenance of your wooden wall
If you have opted for an UltraWood wood strip, you can still provide it with a lime, oil, lacquer paint or stain finish. To avoid disappointing results, we recommend that you take a sample of the wood strip to your local hardware store and test your desired finish on it first. Or if that is not an option, test it at home on a piece of scrap wood. This way you prevent that your wooden wall placed with blood, sweat and tears will be destroyed again with a finish that looked better in your head than in real life. Almost all finishes, for example also transparent oil or stain, will change the color of the product. By the way, let the mounting kit dry for at least 24 hours before you get started with the finish.
Furthermore, you can easily keep the wood strips clean, you only need a soft, possibly slightly damp duster for that. Do not use acidic or chemical cleaning products or wire brushes, as this can irreparably damage the natural material.
You see, it's that easy. In no time, that beautiful wooden wall can be ready and you can style the rest of your interior until it becomes a beautiful, warm space. Please note: style4walls is not responsible for the further home accessories that you will still buy because they look so beautiful with our wood strips! ;)